No products in the cart.


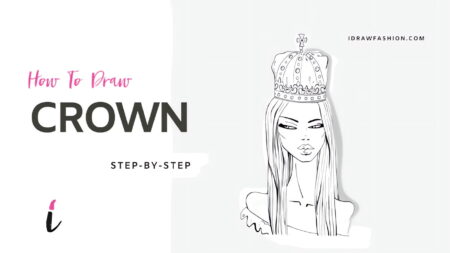
How to draw a crown
This “how to draw a crown” tutorial will teach you a quick technique to draw this beautiful head acc...


Learn how to draw a belt step-by-step tutorial. Fashion accessories like proper bags, shoes, belts, and jewelry can make or break your sketch. Understanding how to draw accessories will open up your designs and make them look even more attractive. Have fun with this tutorial!
Decide where you want to place the belt and how wide it is going to be. Mark it with two parallel lines, allowing you to go out of the outlines of the fashion figure a little bit.

To gain the sensations of a realistic belt that wraps properly around the body, curve the lines slightly according to the volume of the body underneath.
Depending on the perspective sometimes you will have to curve the lines in other directions. The point is that you shouldn’t leave them absolutely straight, but adjust it thinking of the volume underneath.
Notice that at the sides the belt goes outside of the model’s outline. This is because the accessory is put over the dress and this way you will make the sketch look more realistic and believable.

Draw the buckle. It could be any form, but I picked the classic square one for this example. The buckle should be just a hair bigger than the width of the belt.

Erase the part of the buckle that is shown in the illustration and draw the overlapping piece of the belt. The little arrow shows how you should represent that the overlapping piece is placed over the belt itself.
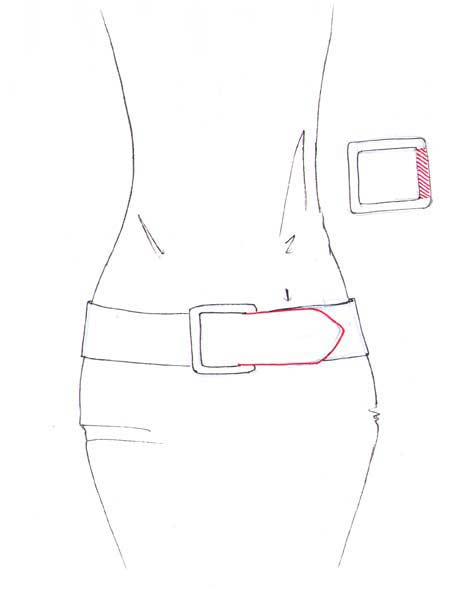
Draw some belt holes before and after the buckle. Try not to go too far with them- draw only as much as you need and try to keep the space between each of them equal.
Make sure you have one of the holes drawn very close to the buckle. Add the tongue that goes over the buckle.

Most of the belts have a belt loop that holds the overlapping piece not to fall down. You can draw that too. Make sure it wraps around the belt (Step 1 and Step 2).

Finally, add some stitching and if your design requires- draw loops to hold the belt.

This is the very base of drawing belts. Having this in mind now you can go crazy with your designs and make amazing collections!
Happy drawing!



12 comments
Roos Yuliati
Awesome tutorial ….
Jezzygames
Wishing to try it out
NewAgeHippie
Love This Its Great!
:lol:
mouhamed
learn me
teddy
its teach hell for brains
Azeezah
Am loving this!!! Thanks so much
little_hipstar
hey! i love ur website
sunnylove
I love this…very nice! :-)
Awesom
[quote name=”I Draw Fashion”][quote name=”sally”]:D this was really helpful. can u make a tutorial onhow to draw some fashion figures or a ruffled skirt?[/quote]
Thanks for the comment, Sally and for the tutorial ideas too! I will deffinetely include those in the 2012 tutorials :-)[/quote]
I ♥ your instructions!!! they are really easy and simple to follow :lol: can you put more about different textures like lace and the type of netting you see under dresses?
thx =-)
I Draw Fashion
[quote name=”sally”]:D this was really helpful. can u make a tutorial onhow to draw some fashion figures or a ruffled skirt?[/quote]
Thanks for the comment, Sally and for the tutorial ideas too! I will deffinetely include those in the 2012 tutorials :-)
sally
:D this was really helpful. can u make a tutorial onhow to draw some fashion figures or a ruffled skirt?
Arwengirl1
great tutorial! :D